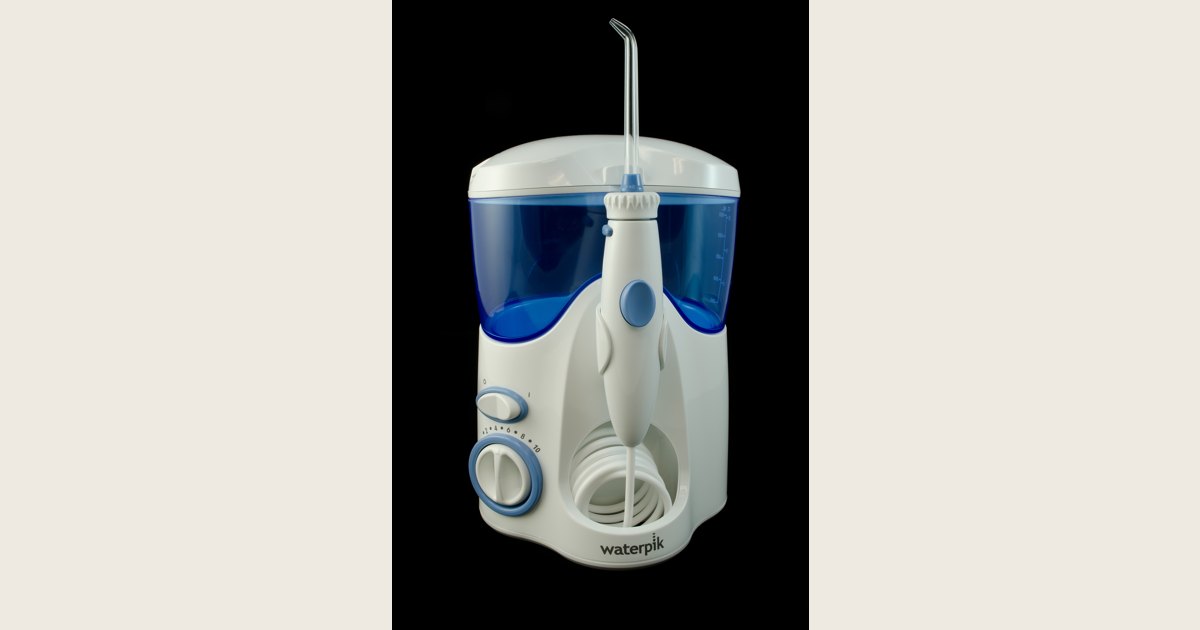
To use a water flosser, fill the reservoir with warm water, insert the tip, and lean over the sink. Put the tip in your mouth before switching the unit on, then guide the stream along the gumline, pausing between teeth and covering both the front and back surfaces (Waterpik).
A water flosser is one option for cleaning between teeth. The American Dental Association (ADA) describes it as a gentle water stream that rinses away food and plaque. It may be useful when other interdental tools are difficult to handle or when you have braces, bridges, or other dental work (ADA MouthHealthy). The best routine is one you can use carefully and consistently—and one that fits your dentist’s advice.
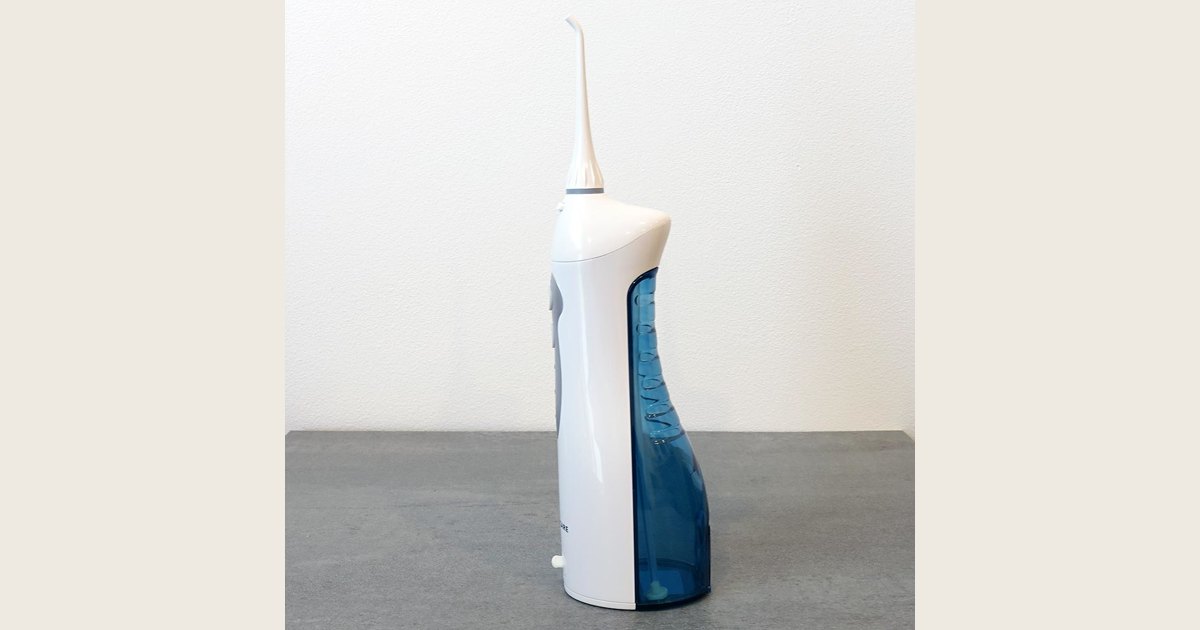
Featured image: “Water Flosser” by Waterpikinc via Wikimedia Commons, CC0 1.0. It shows a countertop-style unit; the body photo shows a portable design. The basic sink-side steps apply across styles, but check your model’s manual for controls, compatible tips, and care. Resized and padded. Illustrative stock image; no product testing is implied.
Key Takeaways
- Start at the sink and use the controls, compatible tips, and care directions in your own product manual.
- Move deliberately rather than quickly: the technique below gives you a repeatable route through every area of your mouth.
- Clean between teeth regularly—aiming for once a day—as part of a wider oral-care routine that also includes brushing twice daily with fluoride toothpaste.
- A water flosser can be a useful option when string floss or other tools are hard to use, but your dentist can help you choose the right interdental tool for your mouth.
Before you start: set up for a calm, controlled routine
Set the water flosser beside a sink and use the tip intended for your device. Waterpik’s general instructions call for warm water in the reservoir and a tip clicked into the handle (Waterpik). Check your product manual for model-specific details, including compatible tips, controls, cleaning, and storage.
A few sensible ground rules make the process less messy:
- Start at the sink, not while walking around the bathroom.
- Check that the tip is seated as your manual directs; do not force parts that do not fit.
- Decide on a route before you start, such as outside upper teeth, inside upper teeth, outside lower teeth, then inside lower teeth. A set route is simply a memory aid, not a medically preferred starting point.
- If you have braces, a bridge, implants, gum concerns, or a painful area, ask your dentist or hygienist what tool and technique suit your situation. For a broader tool comparison, see our guide to water flossers versus string floss.
- Stop rather than push through pain. The ADA says cleaning between teeth should not cause pain; if it continues to hurt, speak with your dentist (ADA MouthHealthy).
How to use a water flosser, step by step
1. Fill the reservoir and insert the tip
Fill the reservoir with warm water, then insert the tip into the handle as directed for your model. Waterpik uses this as the first step in its general water-flossing instructions (Waterpik).
Leave the device off while you get into position. Buttons, handles, reservoirs, and rotating bases vary, so your manual—not a generic video—is the place to confirm how your particular unit works.
2. Lean over the sink before you start the water
This is the simplest way to control splashing. Lean over the sink and place the tip in your mouth before turning the unit on. Once you start it, let the water flow from your mouth into the sink (Waterpik).
If your model has a pause function, it can be useful for taking a break. But do not assume every device has the same controls: Waterpik notes that in-handle pause/on-off controls and rotating tip bases are not available on every model.
3. Trace the gumline, pausing between teeth
With the water running, aim the tip along the gumline. Pause between teeth and clean the front and back sides as you follow the route you chose. This technique comes from Waterpik’s three-step instructions (Waterpik).
Go at a pace that lets you keep track of where you have been. If you lose your place, simply return to the last tooth you remember; there is no need to increase the pressure or sweep rapidly to “catch up.”
4. Build it into daily oral care
The National Institute of Dental and Craniofacial Research (NIDCR) recommends brushing twice daily with fluoride toothpaste and cleaning between teeth regularly, with a goal of once a day. It lists water flossers among the options that can help when regular floss is difficult to use (NIDCR).
After using your flosser, turn it off and follow your manual for emptying, cleaning, and storing the device. Those details differ among models, so do not copy a countertop routine to a cordless device—or assume a tip, additive, or cleaning method is compatible without checking the manufacturer’s instructions.
Water flosser vs. string floss: choosing an interdental tool
A water flosser may be a practical way to clean between teeth, but it does not create a universal answer to the “water versus string” question. The ADA identifies traditional floss, dental picks, tiny interdental brushes, and water flossers as tools made for cleaning between teeth. Its advice is to discuss the choice with a dentist and try suitable options (ADA MouthHealthy).
Think of the device as one tool in a daily routine, not a verdict on every other tool. That distinction matters when you are choosing what you can use thoroughly around your own teeth and dental work.
| Question | What the evidence-based guidance supports |
|---|---|
| What does a water flosser do? | It uses a gentle stream of water to rinse away food and plaque (ADA). |
| Who might find it useful? | People who have trouble using other tools, or who have braces, bridges, or other dental work, may find it helpful (ADA). |
| Does it automatically replace string floss for everyone? | The ADA lists water flossers and string floss among tools for cleaning between teeth and advises discussing your choice with a dentist (ADA). |
| Can it remove tartar? | No. Hardened plaque (tartar or calculus) needs removal by a dentist or dental hygienist (NIDCR). |
For a fuller look at the tradeoffs, see our guide to water flossers versus string floss. You can also compare electric and manual toothbrushes as you shape the brushing part of your routine. The key point here is practical: do not let uncertainty about the “perfect” tool stop you from cleaning between your teeth regularly.
When braces or dental work make cleaning harder
Water flossers can be especially appealing when there are more places to navigate. The ADA specifically notes that people with braces, bridges, and other dental work may find a water flosser helps them reach more areas (ADA MouthHealthy). That is a reason to discuss technique with your dental team—not a reason to invent a one-size-fits-all tip or pressure setting.
A useful mental picture: treat brackets, wires, bridgework, and restorations as extra landmarks on the route you already use. Work deliberately around them, then follow the specific advice your dentist or orthodontist has given for your appliance or restoration. If a manual offers multiple tips or controls, use it to identify what is compatible with your model.
Troubleshooting: splashing, discomfort, and missed areas
Water splashes before you are ready. Switch the unit off, lean over the sink, place the tip in your mouth, then turn the water on. Let it drain into the sink (Waterpik).
You are unsure whether you finished. Pause and check your route: did you trace the gumline, stop between teeth, and cover the front and back sides? Waterpik describes those as the core technique steps; a consistent route helps you track coverage without rushing (Waterpik).
The stream feels too strong or a control is confusing. Turn the device off and consult its manual for the pressure controls and how to use them. Waterpik notes that controls vary by model, so there is no universal setting to recommend here. Cleaning between teeth should not cause pain; if pain continues, contact your dentist (ADA MouthHealthy).
For cleaning, storage, and model-specific troubleshooting, follow the manufacturer’s manual.
When to call a dentist instead of troubleshooting at home
Make a dental appointment if cleaning between your teeth remains painful, or if you notice gums that are red, swollen, or that bleed easily. NIDCR identifies these as signs associated with gingivitis from plaque buildup; a clinician can determine what is causing your symptoms and what care you need (NIDCR).
It is also worth asking for individual guidance if you have new dental work, braces, a bridge, or a question about which tool belongs in your routine. A water flosser may help in those situations, but the right technique and tool choice are personal.
Frequently asked questions
What should I check before choosing a water flosser?
Consider the space you have by the sink and whether a countertop or portable design better fits how you plan to use it. Check that the controls are clear, the tips you need are compatible, and the manual explains cleaning and storage. These are practical fit questions, not evidence that one style cleans better.
Should I floss before or after brushing?
The ADA says the timing does not matter as long as you clean between your teeth thoroughly. Choose the time that helps you keep the daily habit (ADA MouthHealthy). If you also use an electric toothbrush, our guide on how to use an electric toothbrush covers the brushing part of your routine.
Make the routine easy to repeat
Keep the device where you normally do your oral care, use it over the sink, and follow the same route each time. That reduces the practical barriers—mess, uncertainty about controls, and losing your place—that can make a new habit feel harder than it is.
Between-tooth cleaning belongs alongside brushing twice daily with fluoride toothpaste; NIDCR advises aiming to clean between teeth once a day (NIDCR). For pain, persistent bleeding, or questions about dental work, get individual advice from a dentist or hygienist.